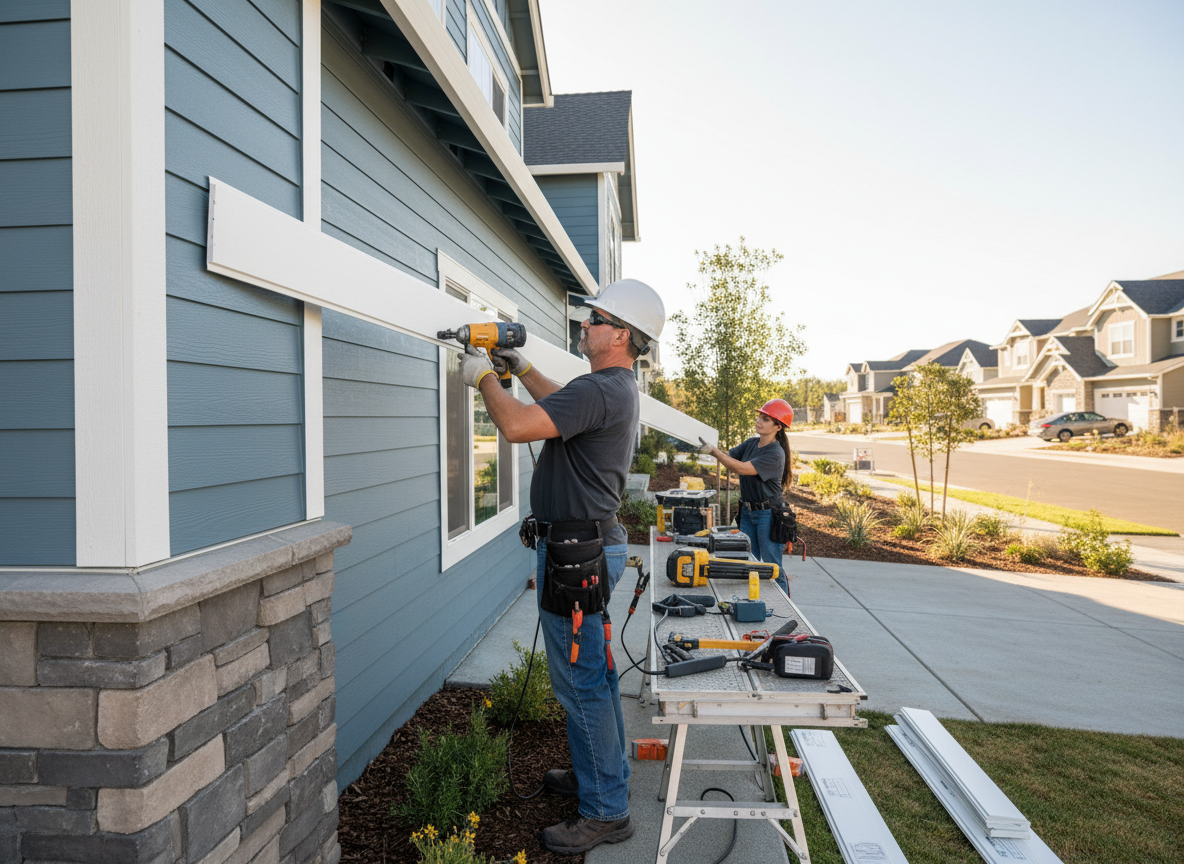
Oakley features many early twentieth-century homes with original wood siding that has endured decades of Cincinnati's freeze-thaw winters and summer humidity. Replacing or repairing siding here requires checking for hidden moisture damage behind layers where poor ventilation has allowed rot to spread into sheathing and framing. Fiber cement and engineered wood products perform better than basic vinyl in these conditions because they resist expansion and contraction that leads to gaps around windows and doors.
Proper underlayment and flashing details matter more in Oakley than in newer subdivisions because many properties sit on sloped lots where runoff concentrates at foundation lines. We routinely find deteriorated housewrap on homes near the Oakley Square area and along Madison Road where repeated storms have driven water behind the siding. Addressing these spots during replacement prevents callbacks that occur when only the visible surface is updated.
Local building practices in Hamilton County call for specific nailing patterns and expansion gaps that vary by material. Skipping these steps on older balloon-framed houses common in Oakley leads to buckling during temperature swings. We inspect attic ventilation and eave overhangs on every job because inadequate airflow accelerates paint failure and seam separation on both wood and composite siding.
Material Choices for Oakley Homes
Homeowners often ask about vinyl versus fiber cement when budgets are tight. Fiber cement holds up longer against the area's repeated freeze-thaw cycles but requires skilled cutting to avoid dust issues on tight urban lots. Engineered wood offers a middle option that accepts paint well and matches the trim profiles found on many pre-war houses near Hyde Park and Oakley.
Technician insight
In Oakley, the thing that catches most people out with home siding contractors is discovering extensive sheathing rot on 1920s balloon-framed houses once the old siding comes off, especially on north-facing walls near the railroad tracks where wind-driven rain hits hardest.
How it works
- 1
Initial Site Visit
We walk the full exterior, note existing material condition, and check for rot or water intrusion around windows and corners.
- 2
Material and Scope Review
Homeowner selects siding type and color; we confirm quantities and any necessary trim or flashing upgrades.
- 3
Preparation and Removal
Old siding comes off, damaged sheathing is replaced, and new housewrap plus flashing is installed before new material goes up.
- 4
Installation and Final Walk
Siding is fastened per manufacturer specs, vents and outlets are trimmed out, and the site is cleaned before final inspection with the homeowner.
Pricing
Upfront written quotes after on-site inspection; final price depends on material choice, home stories, and any hidden damage found during removal.