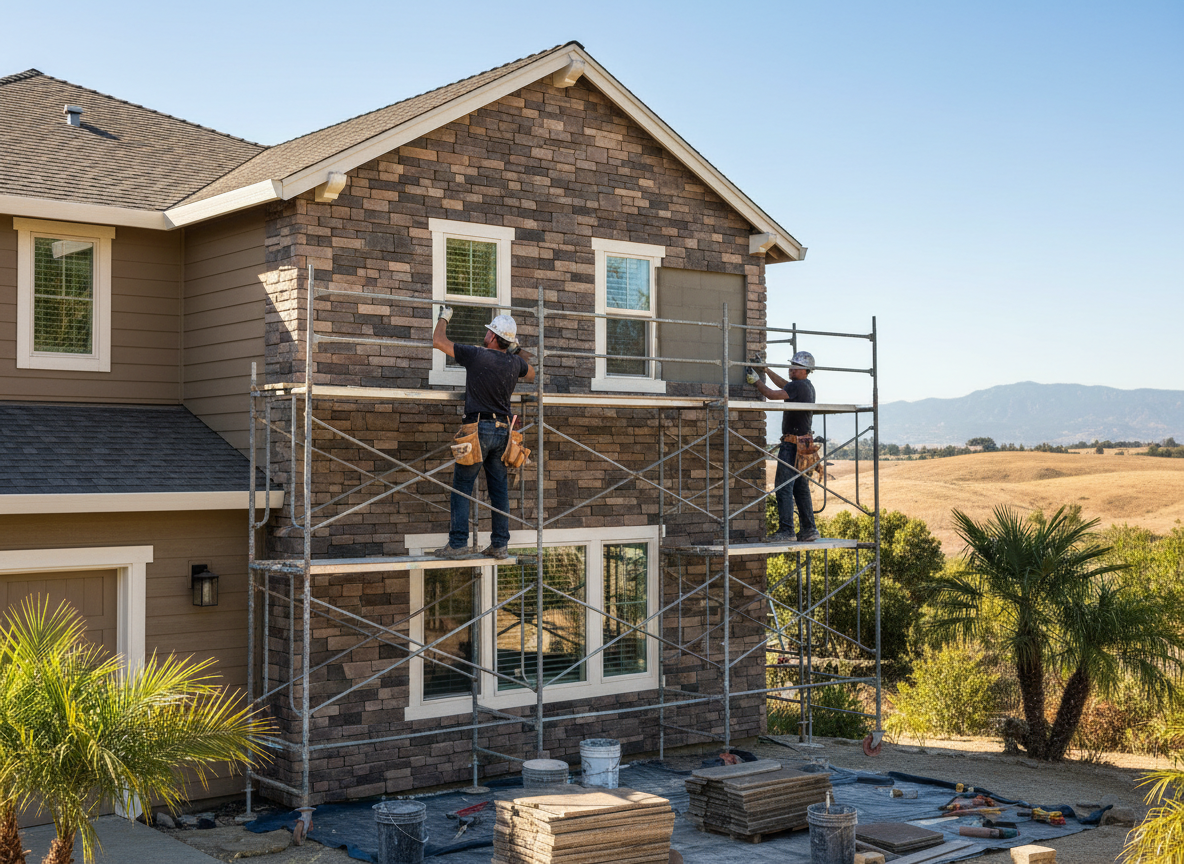
Faux stone siding uses lightweight polyurethane or concrete panels that mimic natural stone without adding load to older Oakley homes built on brick or wood frames. In Hamilton County these panels must be installed over a weather-resistant barrier because winter freeze-thaw cycles push moisture behind the siding and can lift improperly adhered sections within two seasons. Edge cases include matching existing mortar lines on 1920s bungalows near the Oakley Square business district and routing panels around basement window wells that sit close to grade.
Substrate preparation is critical here. Many Oakley properties have painted brick or deteriorated sheathing that must be cleaned and dried before panel attachment; skipping this step leads to delamination when spring humidity spikes. Local building codes require a minimum 3/8-inch gap at the foundation for drainage, and inspectors often flag jobs that place panels directly against soil on sloped lots common along Madison Road.
Material choice affects longevity. High-density polyurethane panels resist Cincinnati-area road salt spray better than fiber-cement versions, yet they still need color-matched caulk at every seam to prevent water intrusion at joints. Homeowners frequently overlook the need for periodic inspection of these seams after heavy rain events that funnel water down the steep driveways found throughout the neighborhood.
Technician insight
In Oakley the thing that catches most people out with faux stone siding is the combination of older brick homes and Ohio freeze-thaw cycles; if the substrate stays damp from poor flashing around basement windows, the adhesive lets go within the first winter and panels start to bow along Madison Road properties.
Oakley Bungalow Exterior Update
Water stains appeared below windows on a 1930s home near Oakley Square. Inspection showed rotted sheathing behind old siding caused by missing flashing. We replaced the damaged sections, installed a drainage plane, and applied faux stone panels with sealed joints. The exterior now sheds water properly and matches the neighborhood character.
How it works
- 1
Site Assessment
Measure elevations, note substrate condition, and check for existing moisture issues around windows and foundations.
- 2
Substrate Preparation
Remove loose paint, repair sheathing, and install drainage plane and flashing at all transitions.
- 3
Panel Layout and Attachment
Dry-fit panels, secure with manufacturer-approved fasteners or adhesive, and maintain required expansion gaps.
- 4
Finishing and Sealing
Apply color-matched caulk, install trim pieces, and verify drainage paths at grade.
Pricing
Upfront quotes provided after on-site inspection; final cost depends on home size, substrate repairs, and panel style selected.