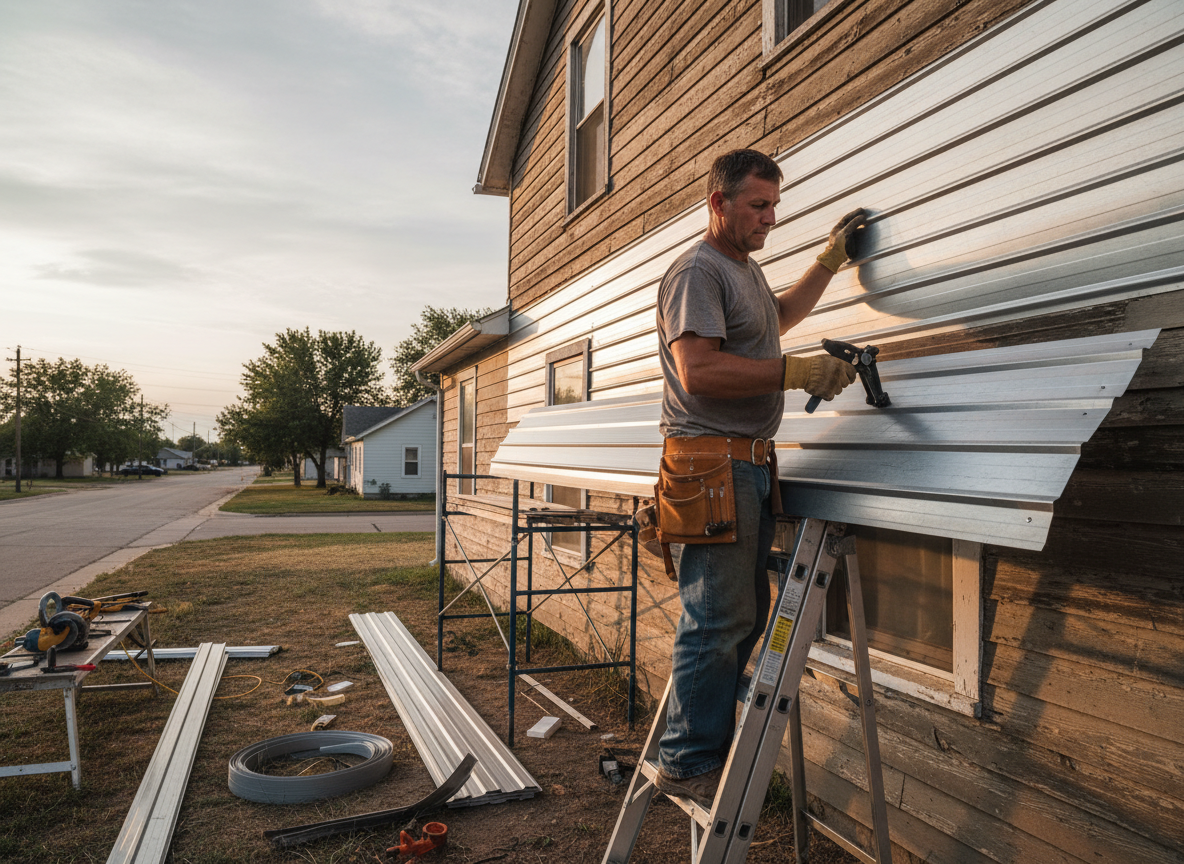
Oakley homes built before 1950 often feature original wood siding that was covered with aluminum decades ago. When panels dent, fade, or separate at seams, moisture gets behind the material and reaches the sheathing. We remove damaged sections, check for rot, and install new aluminum panels that match the existing profile while allowing for expansion in summer heat.
Cincinnati freeze-thaw cycles around Oakley cause fasteners to loosen over time. Aluminum expands and contracts more than vinyl, so we use clips that permit movement rather than nailing tight. On two-story homes near the Oakley Square business district we also secure scaffolding to avoid damaging established landscaping and driveways.
Homeowners sometimes try to paint aluminum siding themselves. Factory finishes are baked on; field-applied paint peels within two seasons and traps moisture. We recommend full panel replacement or professional refinishing systems designed for aluminum when color change is desired.
Edge details around windows and doors in Oakley’s older stock frequently leak because original trim was never flashed correctly. During every aluminum siding project we install new drip edges and caulk joints with products rated for metal-to-wood contact.
Technician insight
In Oakley the thing that catches most people out with aluminum siding is the way homes along Linwood Ave and surrounding blocks have settled foundations that make long runs of panels bow after a few seasons. Homeowners often think a few new panels will fix it, but we have to address the starter strip and weep holes or the same bowing returns within two winters.
Buckled Panels on a Two-Story Oakley Home
Panels on the south elevation had started to wave after repeated freeze-thaw cycles. We found the original starter strip had been nailed tight instead of clipped. We removed the affected run, replaced the starter with floating clips, added proper flashing at the base, and reinstalled matching aluminum panels. The bowing stopped and drainage improved.
How it works
- 1
Site Assessment
We walk the full exterior, note dented or loose panels, check soffit and fascia alignment, and photograph problem areas around windows and corners.
- 2
Material Selection
We match existing panel profile, gauge, and color using samples from local suppliers so new sections blend with remaining siding.
- 3
Preparation and Removal
Old panels are taken down carefully, damaged sheathing is replaced, and new housewrap is applied where needed before new aluminum goes up.
- 4
Installation and Trim Work
New panels are hung with proper clips, new trim is installed at openings, and all seams receive manufacturer-approved sealant.
- 5
Final Walkthrough
We review every elevation with the homeowner, confirm drainage details, and leave a maintenance guide for seasonal care.
Pricing
Upfront quotes provided after on-site inspection; price varies with access, panel gauge, and extent of underlying repairs.